Mac OS - Center Cam Camera ControllerUpdated 6 months ago
Center Cam Camera Controller
Step 1: Download the program from this location.
Camera Controller is also available on the App Store. If installed from the app store, the directions below are not needed to follow.
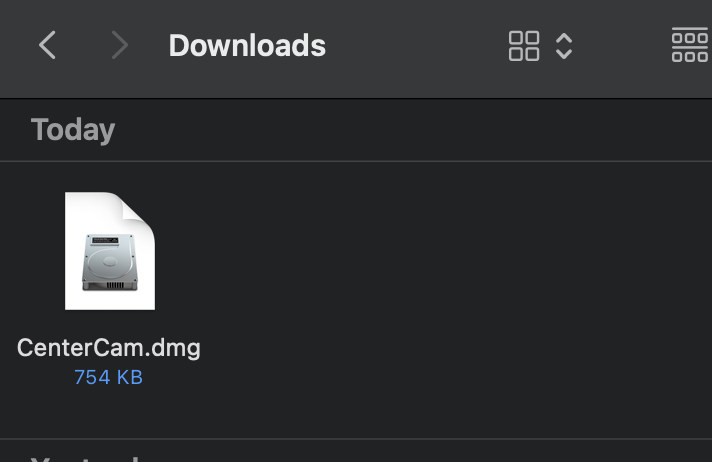
Step 2: You will see a program called CenterCam.dmg.
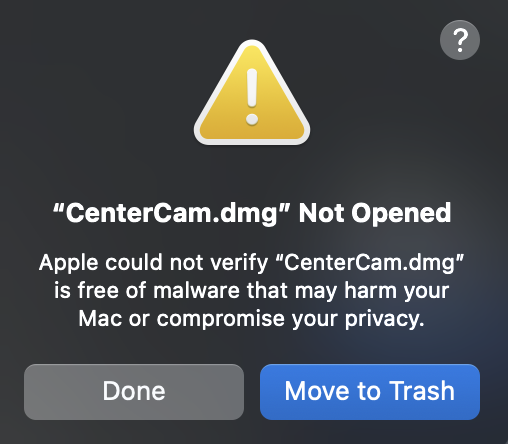
Step 3: Double Click on the file. You will see a message. Click Done.
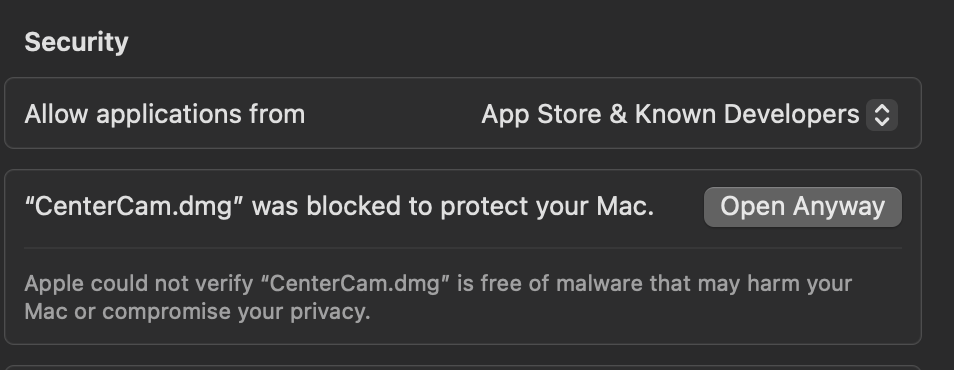
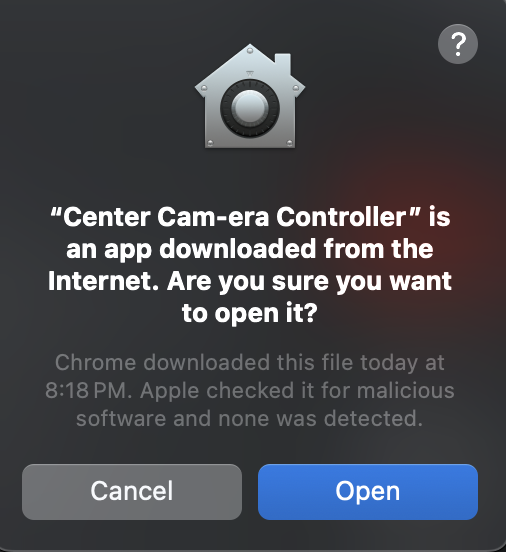
Step 4: Go to your Privacy & Security under your System Settings. Ensure that you are allowing applications from App Store & Known Developers. You will also see a note to Open Anyway the CenterCam.dmg. please click on this.
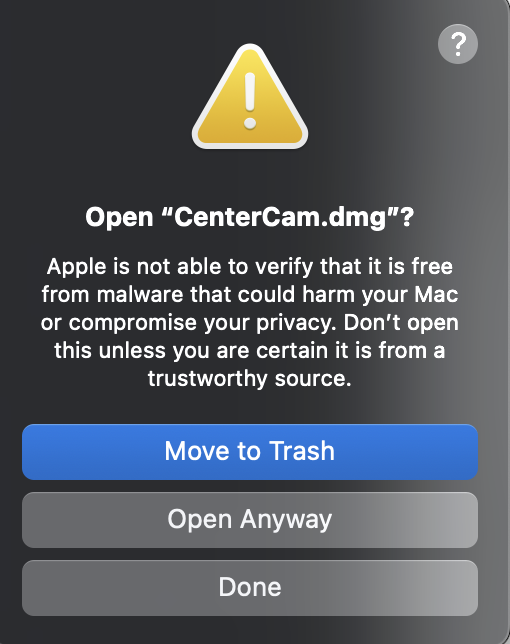
This dialogue box will open and click on Open Anyway. It might ask for your password to install the file.
Step 5: Once you have input your password, a box will open to allow you to move the application to your application folder.
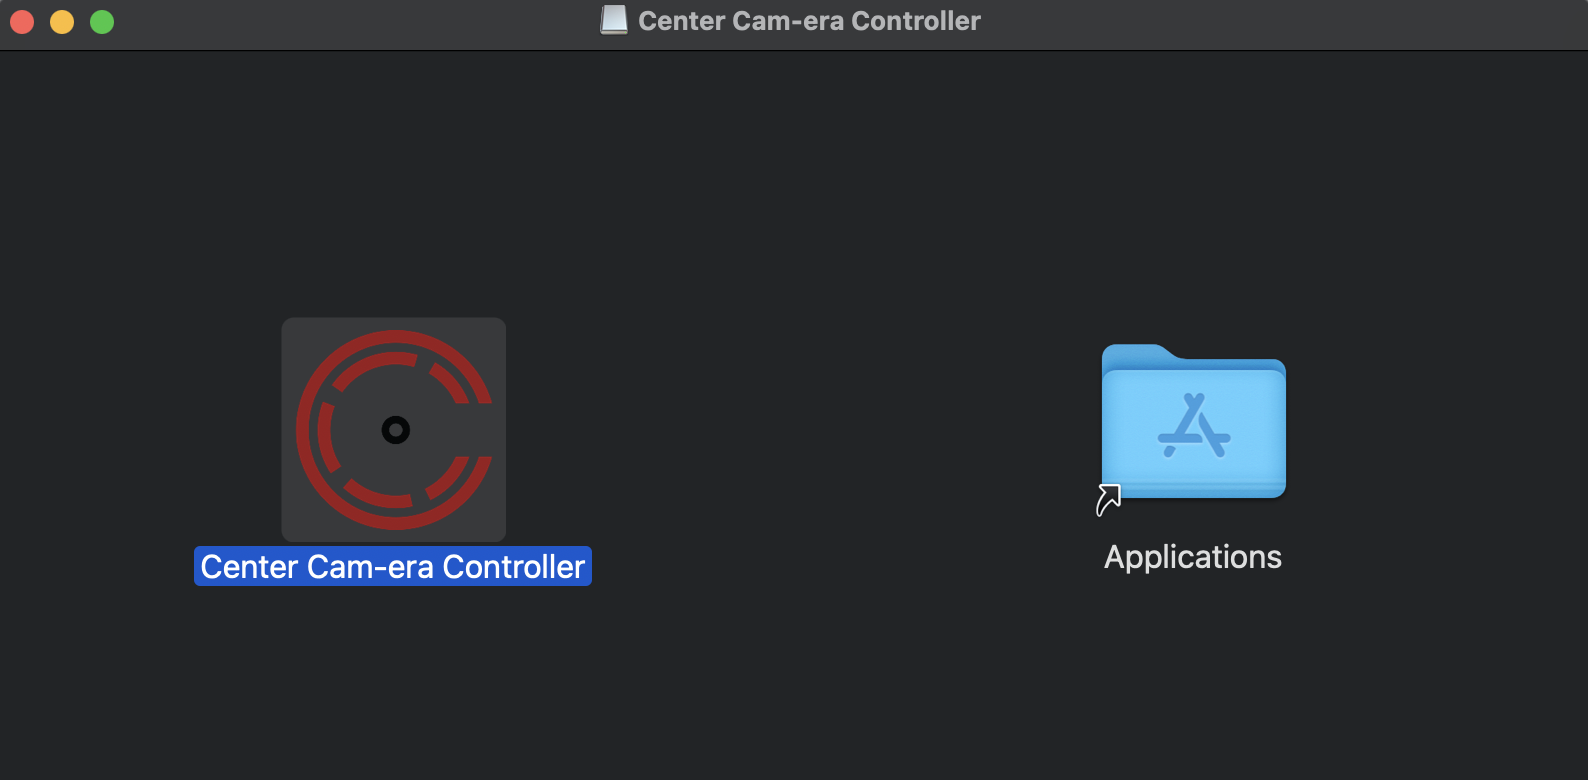
Step 6: Go to your Application folder and open the program. You will get a dialogue that will ask if you want to open it. Click Open.
Step 7: The program will launch at the top of the screen and will be the Center Cam Logo.

Step 8: Click on it and go to Settings.
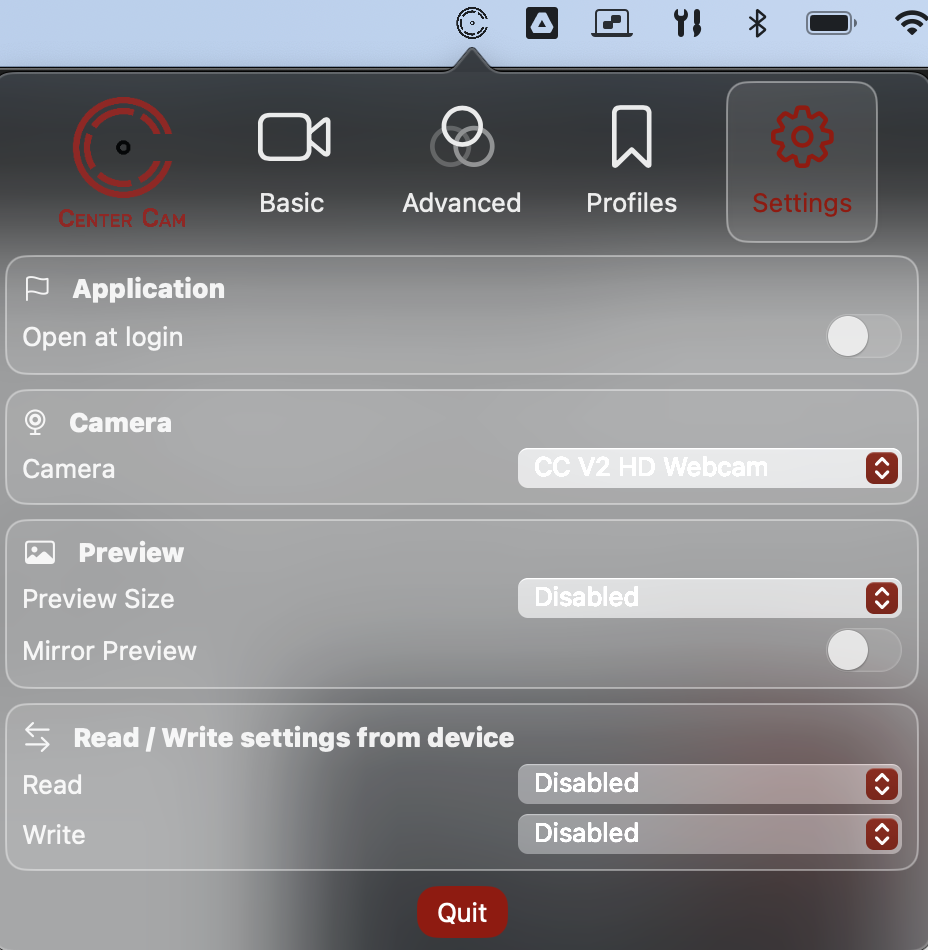
Step 9: In the settings, go to camera and select your camera.
Step 10: Go to Basic Settings, and you will see different camera setting options.

Step 11: For Advanced Settings, you will find Anti-Banding and Backlight Compensation.
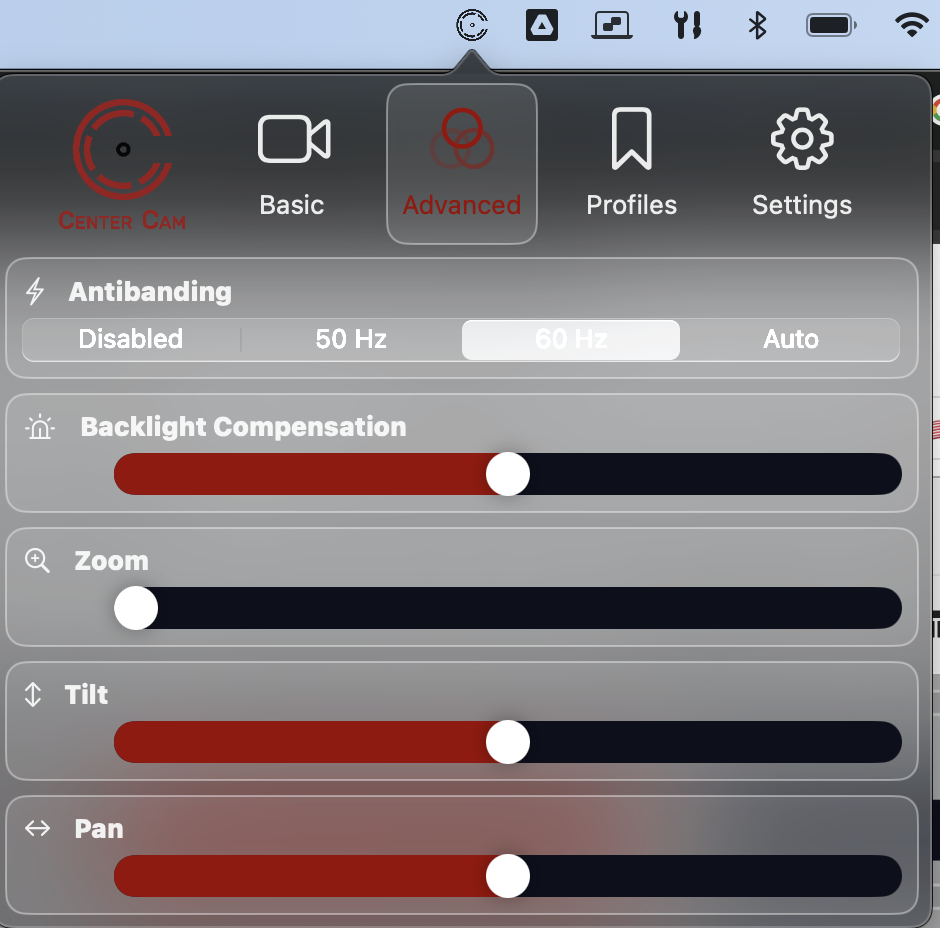
If you live in a country that the power frequency is 50 Hz, you will want to change to that value. Backlight compensation can help when you have a lot of light behind you.