How do I setup my Center Cam?Updated 5 months ago
Activity:
How to setup your new Center Cam
Operating Systems:
Windows, MacOS, Linux, Unix, Ubuntu
Video Tutorial:
Center Cam - Unboxing and Setup
Steps:
You just received your brand new Center Cam (Standard Package). Now what!??
- Confirm the contents of your package. You should have the following items:
- Center Cam camera
- Standard size clip
- User guide
- Quick start guide w/images to help with this process
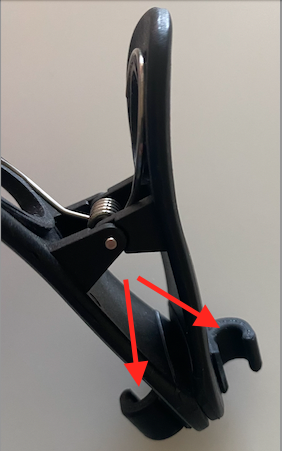
Take the clip and identify the 'clip hooks' that are near the bottom on both sides of the clip. The 'flex tube' on your Center Cam will fit into the front-side clip hook.
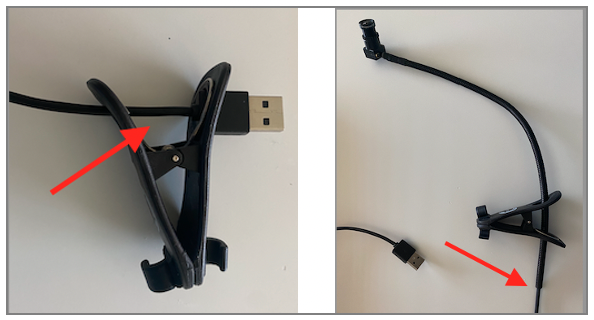
Identify the USB cord on your Center Cam and thread it through the holes in the top of the clip. Pull the cable through until you reach the metal flex tube.
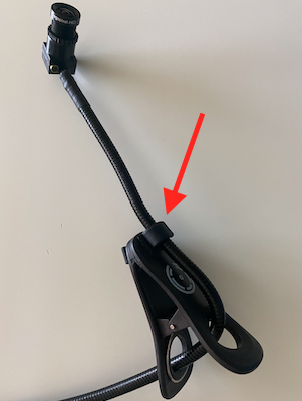
- You will see "clip hooks" on both sides of the clip. Line the flex tube up against only the clip hook on the front side of the clip. Push the it into the hook until it clicks.
- not
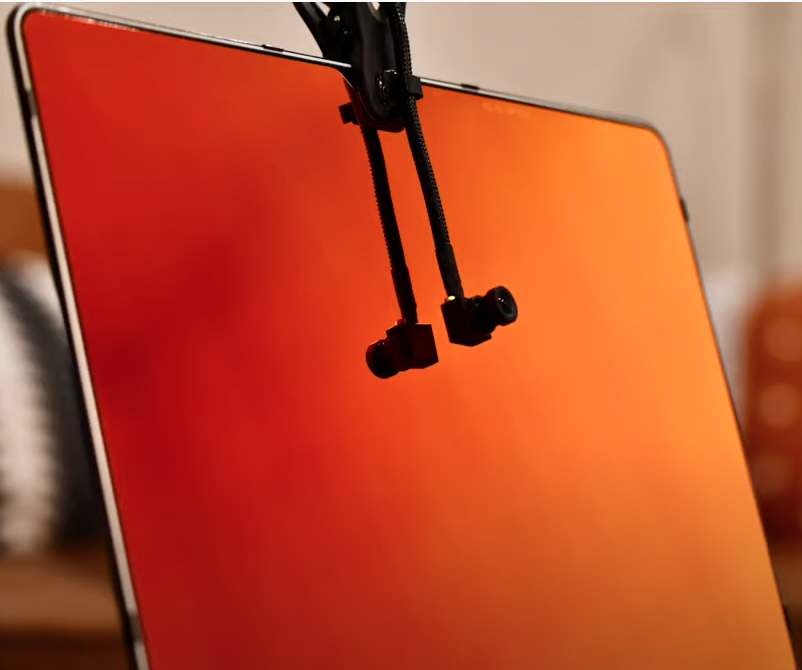
- Once the flex tube is securely in the hook, attach the clip to the top of your monitor
- Adjust the flex tube so that the camera is facing forward and sitting in the middle of your screen or in a comfortable place. The angle of your image will match the angle of the camera, so make sure it is sitting even, unless you want to look like a character in an early 2000s reality tv show.
- not
- Remove the lens cap from your camera!!!
- Plug the USB cord into your computer
- Your computer should recognize the Center Cam as new hardware and then recognize the correct drivers to make it work
- Confirm that the Center Cam is recognized by reviewing the hardware settings or by opening a video/camera application and testing your camera.
- Communicate and Connect like a BOSS!